
Roof Leak After Rain: Causes and Repair Options
September 22, 2025
Written By
All Trades Restoration Services

Few things strike fear into a homeowner’s heart faster than discovering a roof leak after a heavy Midwest rainstorm. That slow drip or water stain on your ceiling can quickly escalate from a minor inconvenience to significant structural damage if not addressed promptly. Understanding what causes roof leaks—and how to repair them—is essential to protecting your home and your peace of mind.
Let’s explore the most common culprits behind post-rain roof leaks, how to identify them early, and what repair options are available for Midwest homeowners.
1. Why Roof Leaks Happen After Rain
The Midwest’s weather patterns—heavy rains, strong winds, snowmelt, and temperature fluctuations—create the perfect storm for roof leaks. While roofs are designed to keep moisture out, even small vulnerabilities can let water in once the rain starts.
Here are the top causes of roof leaks after rain:
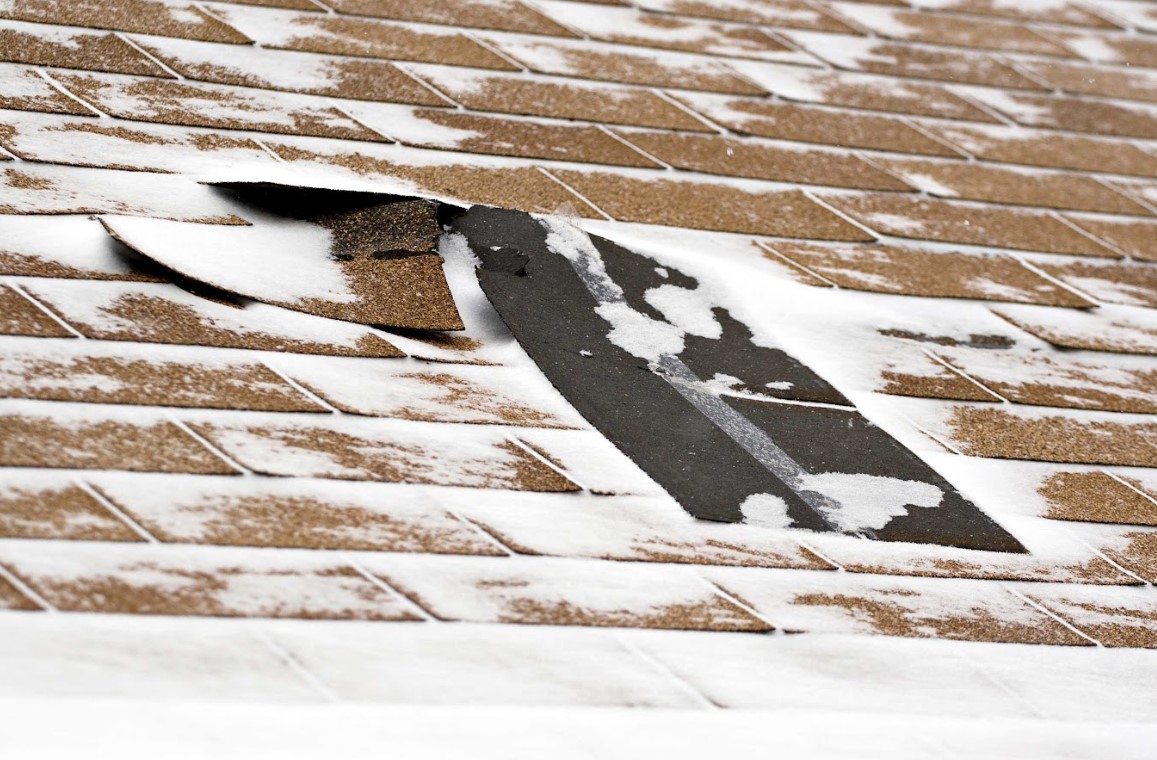
- Damaged or Missing Shingles: High winds and hail can loosen or tear away shingles, exposing the underlayment and allowing rainwater to seep through.
- Clogged Gutters: When gutters are full of debris, water can back up under the roof edge and into your attic or walls.
- Worn Flashing: Flashing seals roof joints around chimneys, vents, and skylights. When it rusts, cracks, or pulls away, it leaves gaps for water intrusion.
- Cracked Vent Boots: The rubber seals around plumbing vents can deteriorate with age or UV exposure, letting water in around the pipe.
- Improper Roof Installation: Even a new roof can leak if flashing, underlayment, or ventilation were installed incorrectly.
- Aging Roof Materials: Over time, UV rays, freeze-thaw cycles, and heavy rains degrade roofing materials, leading to cracks and leaks.
Pro Tip: If your leak only appears during or right after rain, the problem is almost always related to one of these surface-level vulnerabilities rather than internal plumbing issues.
2. Spotting the Signs of a Roof Leak
Catching a leak early can save you from expensive water damage and mold remediation. Here’s what to look for right after a rainfall:
- Water Stains on Ceilings or Walls: Often the first sign of trouble, these stains may grow darker or expand after each storm.
- Damp Insulation or Attic Rafters: After a rain, inspect your attic for moisture, moldy smells, or soggy insulation.
- Dripping Water or Bubbling Paint: Active leaks may appear as dripping water, peeling paint, or bubbling drywall.
- Mold or Mildew Growth: Persistent leaks create humid environments ideal for mold, especially in hidden areas like attics or behind walls.
- Missing or Lifted Shingles: A visual roof inspection (from the ground or by a professional) can reveal displaced shingles or exposed underlayment.
Safety Tip: Avoid climbing onto your roof after rain. It’s slippery and dangerous. Call a professional for a thorough inspection instead.
3. Common Roof Leak Locations
Knowing where leaks tend to form helps narrow your search. In Midwest homes, leaks most often occur around:
- Roof Valleys: These low points collect large volumes of water, making them prone to seepage if not sealed properly.
- Chimneys and Skylights: Gaps or deteriorated flashing around these features are frequent sources of leaks.
- Roof Vents and Plumbing Stacks: Worn vent boots and cracked seals allow water to travel down the pipe and into your attic.
- Eaves and Gutters: Overflowing gutters can send water under your roof’s edge, especially if fascia boards are rotting.
- Dormers and Roof Transitions: Complex rooflines can trap water if not flashed and sealed correctly.
A professional roofer uses specialized tools—like moisture meters and infrared scanners—to trace the true source of the leak, which may not always be directly above the visible damage.
4. Immediate Steps to Take After Discovering a Leak
If you notice water infiltration during or after a storm, quick action can minimize damage:
- Contain the Water: Place buckets, towels, or tarps under the leak to prevent flooring and furniture damage.
- Relieve Water Pressure: If a bulge forms in the ceiling, carefully puncture a small hole to let trapped water drain safely into a bucket.
- Move Valuables: Shift furniture and electronics away from the affected area.
- Document the Damage: Take clear photos for insurance claims.
- Call a Professional Roofer: Temporary fixes are helpful, but long-term repairs require expert evaluation.
5. Roof Leak Repair Options
Depending on the severity and source of your leak, repair solutions can range from minor patching to a full roof replacement.
Minor Repairs
- Replacing Shingles: Damaged shingles can be replaced individually if the underlying layers remain intact.
- Re-Sealing Flashing: Roofers can reapply or replace metal flashing around chimneys, skylights, or vents.
- Repairing Vent Boots: New rubber boots can be installed to reseal plumbing vents.
- Cleaning Gutters: A thorough cleaning ensures water drains correctly and prevents future overflow.
Major Repairs
- Underlayment Replacement: If water has penetrated beneath the shingles, sections of underlayment or decking may need replacement.
- Structural Restoration: Severe leaks can rot rafters or cause sagging ceilings, requiring carpentry repairs.
- Full Roof Replacement: If your roof is over 20 years old or has extensive damage, replacement may be the most cost-effective long-term solution.
6. Preventing Future Roof Leaks
Once your leak is repaired, take proactive steps to prevent a repeat issue:
- Schedule Regular Inspections: Have your roof inspected at least once a year, especially after harsh Midwest winters or severe storms.
- Keep Gutters Clean: Clear leaves and debris every spring and fall to ensure proper drainage.
- Trim Overhanging Branches: Falling limbs or rubbing branches can damage shingles and flashing.
- Check Attic Ventilation: Poor ventilation leads to moisture buildup and premature roof deterioration.
- Inspect Flashing and Seals: Look for cracks, rust, or gaps around chimneys and vents each season.
Maintenance Tip: After every major storm, do a quick visual check from the ground for lifted shingles, bent flashing, or gutter overflow. Small fixes now can save thousands later.
7. Working with a Professional Roofing Contractor
When leaks appear, choosing the right professional makes all the difference. A reputable Midwest roofing company will:
- Perform a thorough inspection to locate the exact source of the leak.
- Provide a detailed repair estimate outlining materials, labor, and warranty coverage.
- Use weather-appropriate materials that withstand Midwest conditions—from driving rain to snowmelt.
- Offer preventive maintenance plans to keep your roof in top condition year-round.
Always verify licensing, insurance, and customer reviews before hiring a contractor.
Stay Ahead of the Rain
A leaking roof isn’t just a nuisance—it’s a warning sign. Midwest weather can be harsh and unpredictable, but with timely attention and professional repair, your home can stay dry, safe, and structurally sound.
If you notice a roof leak after rain, don’t wait until it worsens. Schedule an inspection with a trusted local roofing expert to pinpoint the issue and restore your home’s protection. A proactive approach today can save you from major headaches—and major expenses—down the road.
Recent Articles
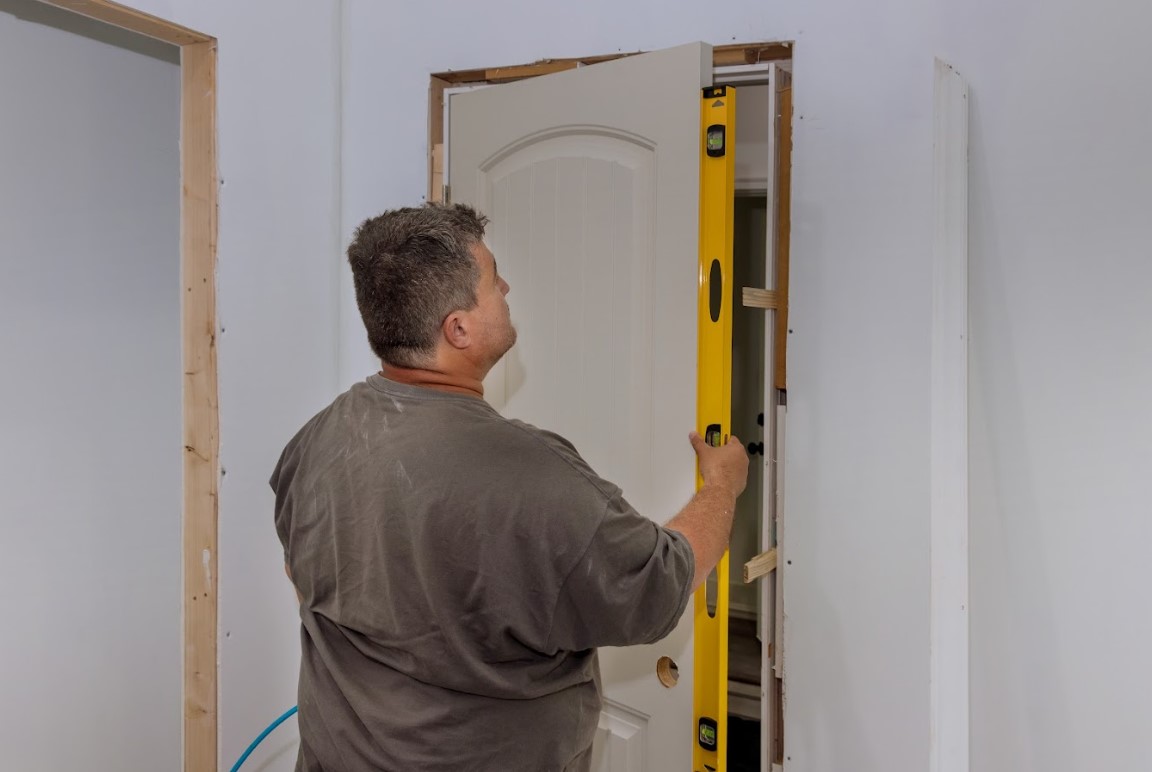
Residential Doors
Fix Drafty Door: Simple Solutions for a Cozier Home
Learn how to fix a drafty door and keep your Missouri home warm, and comfortable. All Trades Restoration Services shares professional solutions to improve insulation, and lower energy costs.
December 9, 2025
Residential Roofing
Winter Roof Damage: Common Issues and How to Prevent Them
Learn how to spot and prevent winter roof damage before it becomes costly. All Trades Restoration Services shares expert tips to protect your home from leaks, ice, and snow.
December 5, 2025
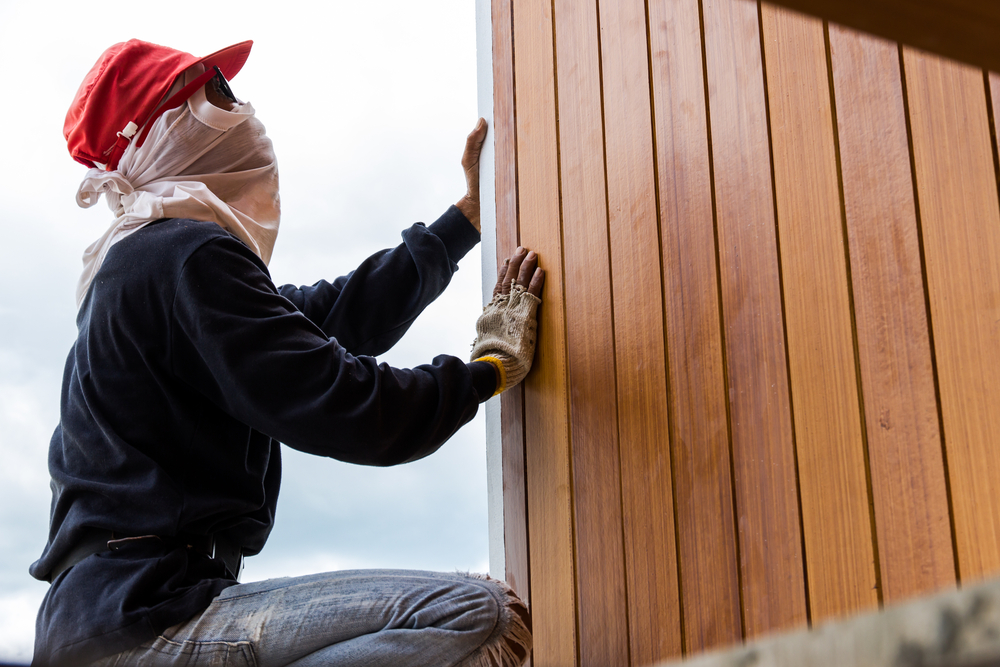
Residential Fencing
Winter Fence Care in Missouri: Protecting Your Investment
Learn how to prevent winter fence damage in Missouri. Expert fence care tips from All Trades Restoration Services help protect your home and investment all season long.
December 2, 2025

Residential Roofing
Ice Damage to Roof Shingles: Prevention and Repair Solutions
Learn how to prevent and repair ice damage to roof shingles. Expert winter roofing advice from All Trades Restoration Services keeps Missouri homes protected year-round.
December 1, 2025